
Zabbix monitoring network 7: Telegram Alert
7. Cấu hình Telegram Alert
Bài trước , mình có giới thiệu các bạn về cách Alert qua email , các bạn có thể xem lại tại đây . Tuy nhiên, một admin không thể nào check mail 24/24 được.
Vì thế phần tiếp theo của series Zabbix của ITFORVN, mình xin chia sẻ với các bạn cấu hình Alert qua telegram với Zabbix.
Tại giao diện search của Telegram, search botfather và nhấn Start.
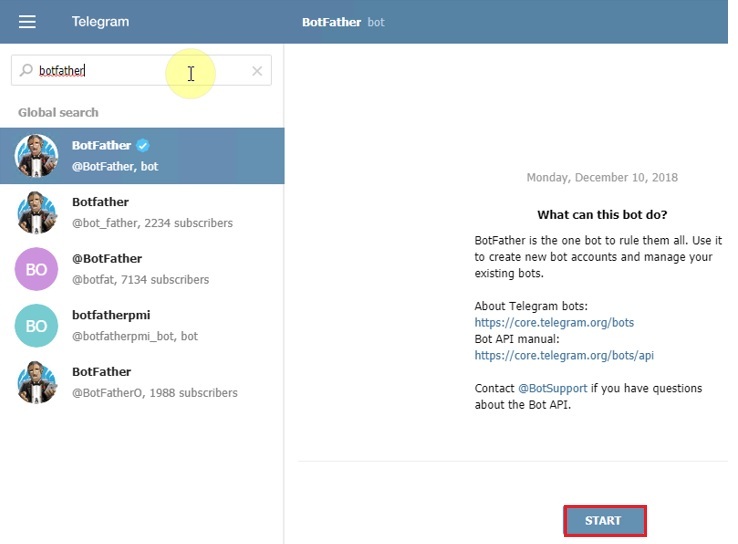
Hình 7.1: Search Botfather
Nhập /newbot để tạo một bot mới
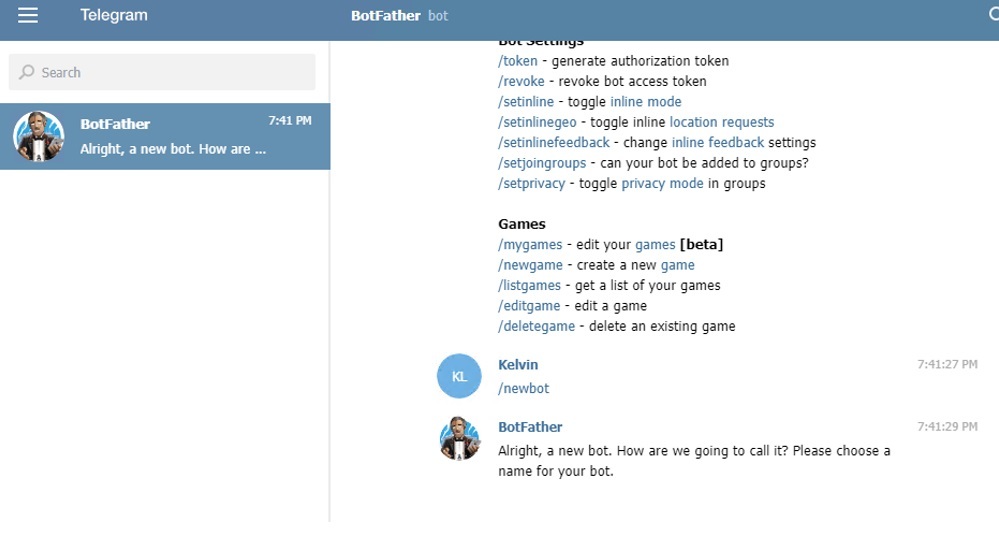
Hình 7.2: Khởi tạo newbot
Sau đó, tiến hành đặt tên cho bot vừa tạo. Ở đây, ta đặt là zabbixitforvn
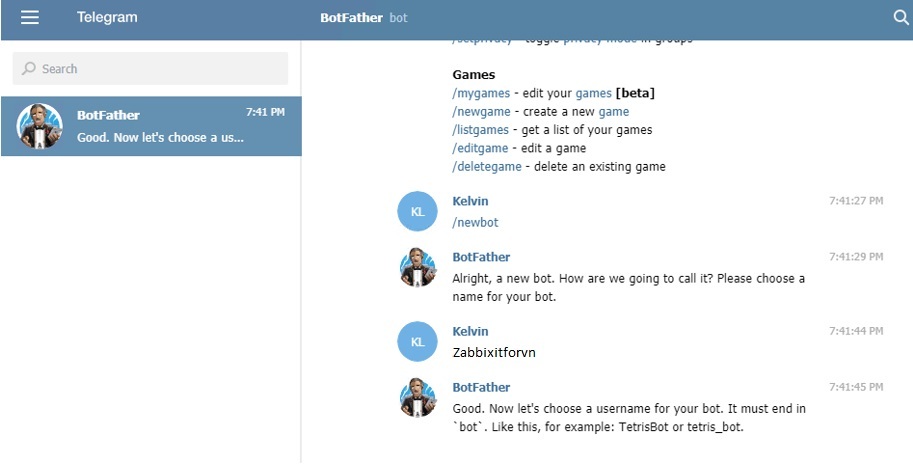
Hình 7.3: Đặt tên cho bot
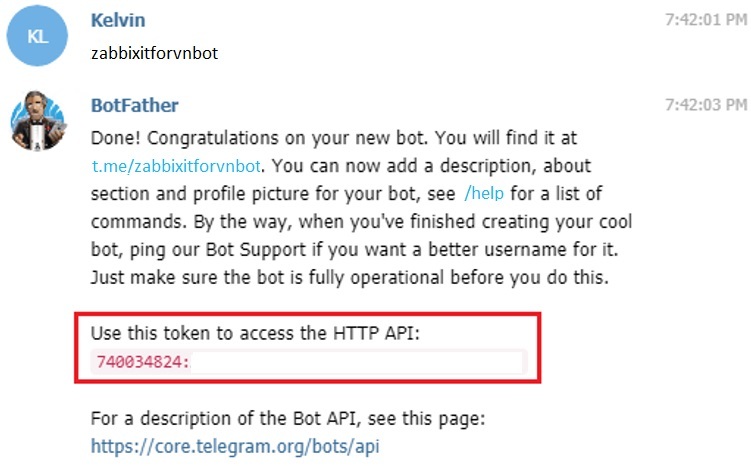
Tiến hành tạo username cho bot. Nhập zabbixitforvnbot
Hình 7.4: Tạo username cho bot
Sau khi nhập username cho bot vừa tạo, Botfather sẽ gửi lại cho ta BOT TOKEN. Trong trường hợp này BOT TOKEN là 740034824:xxxxxxxxxxxxxx
Trở lại với server Zabbixitforvn, ta tiến hành cài gói lập trình python
yum install -y python-pip
Sau đó, nhập lệnh
pip install pyTelegramBotAPI
Sử dụng lệnh vi để tạo file /usr/lib/Zabbix/alertscripts/telegram.py
vi /usr/lib/Zabbix/alertscripts/telegram.py
Nhập đoạn script dưới đây vào file telegram.py. Trong đó, Bot_TOKEN = bot token mà ta nhận được khi tạo bot

Hình 7.5: Edit file telegram.py
Phân quyền cho file telegram.py

Hình 7.6: Phân quyền cho file telegram.py
Sử dụng trình duyệt truy cập địa chỉ ip của Zabbix: http://10.0.1.198/zabbix. Vào mục Administration, chọn Media types, nhấn Create Media type và điền các thông số:
Name: Telegram
Script name: telegram.py
Script parameters: {ALERT.SENDTO}, {ALERT.SUBJECT}, {ALERT.MESSAGE}
Và nhấn Add
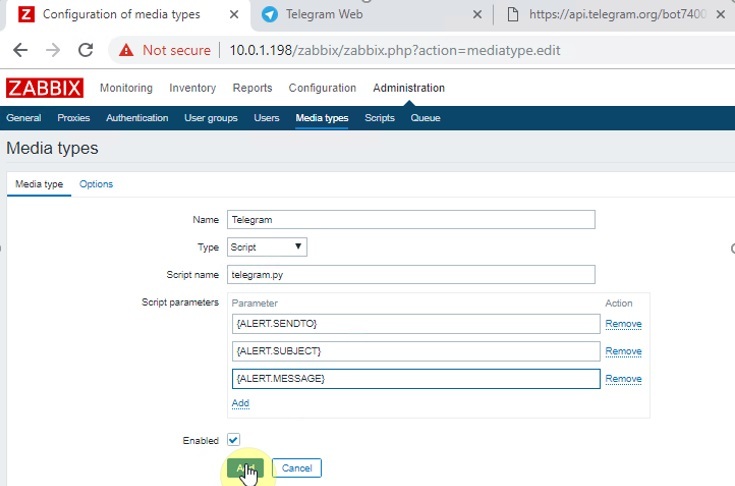
Hình 7.7: Add Media Types và Edit
Tại mục Configuration, tab Actions, nhấn Create action.
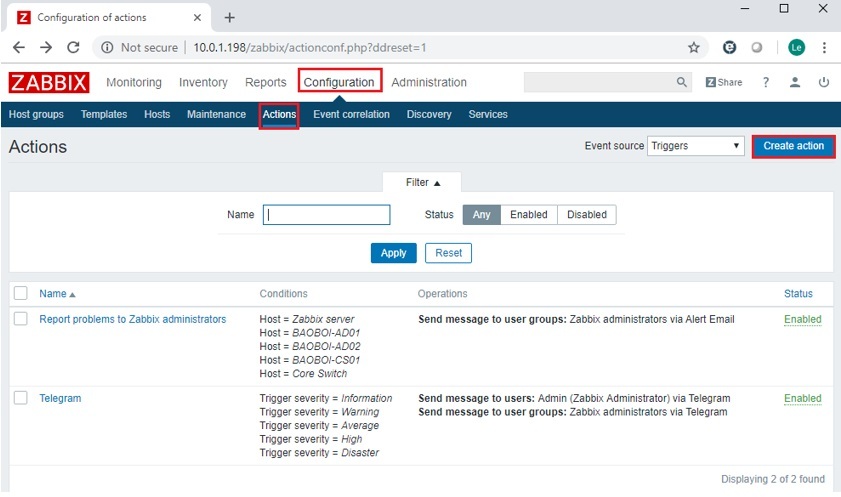
Hình 7.8: Create Action
Tại tab Action, đặt tên Action và lần lượt add các Trigger severity
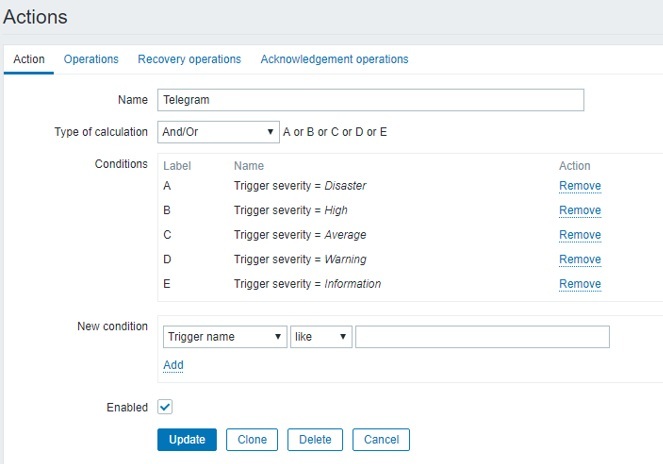
Hình 7.9: Add Trigger severity
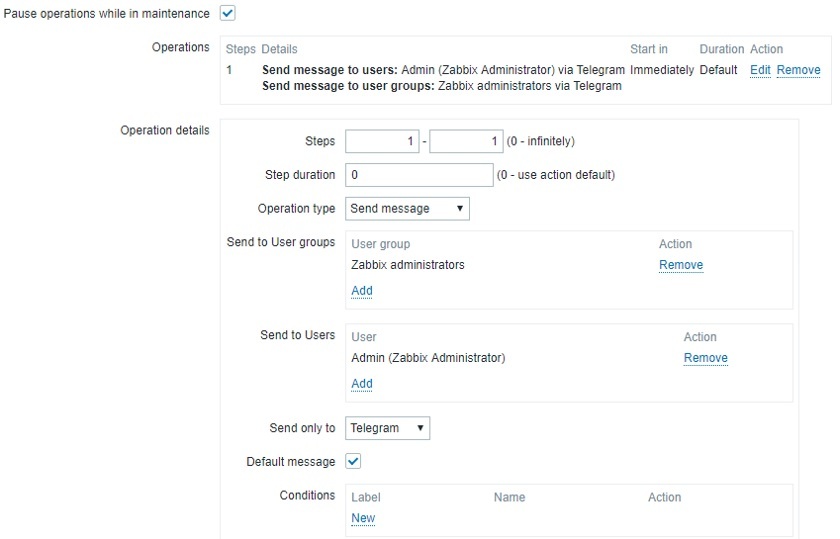
Tại tab Operations , ta điền các thông số như bên dưới và nhấn edit Send message to user
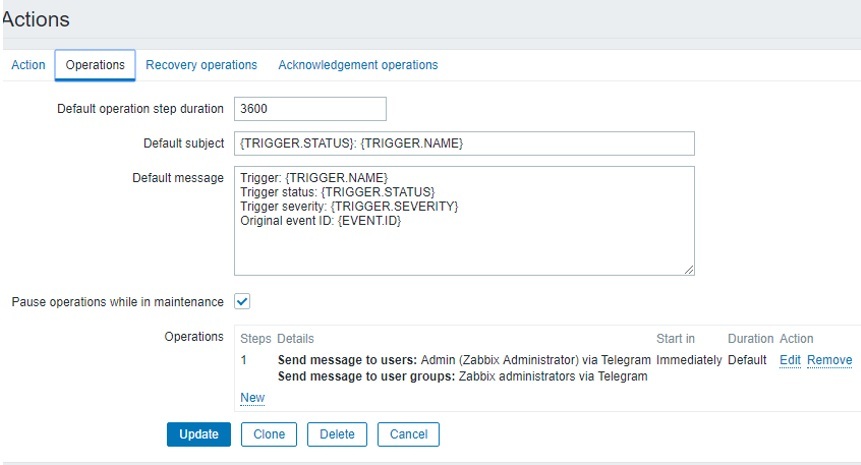
Hình 7.10: Edit Operation
Tại mục Operation type, chọn Send Message.
Mục Send to User Group, add group Zabbix administrators.
Hình 7.11: Add Send to User Group
Sau đó, sang tab Users, chọn user Admin
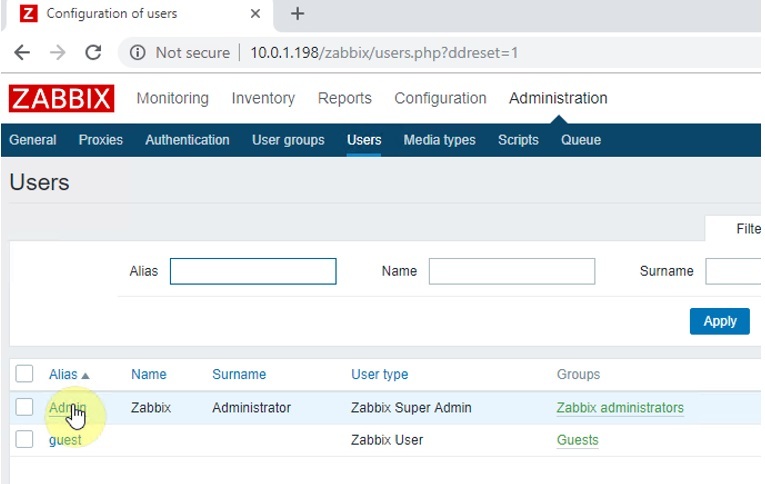
Hình 7.12: Chọn Admin
Tại tab Media, chọn Add
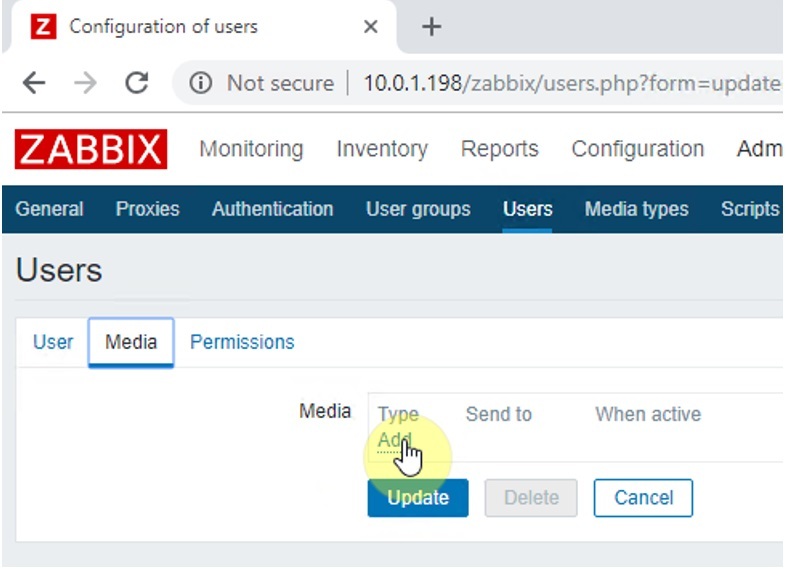
Hình 7.13: Add Media cho User admin
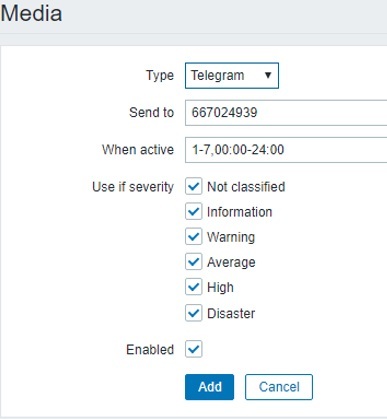
Tại cửa số Media vừa được bật lên, ta điền các thông số như sau:
Type: Telegram
Send to: Id telegram của quản trị viên. Sau khi cấu hình xong, alert sẽ được gửi tới telegram có id này
When active: 1-7, 00:00-24:00 . Ta sẽ cấu hình cảnh báo 7 ngày trong tuần, 24 /24
Check vào tất cả các mục cảnh báo và check Enable. Sau đó, nhấn Add
Hình 7.14: Edit Media
Sau đó, đăng nhập telegram để xem các alert mà hệ thống gửi đến.
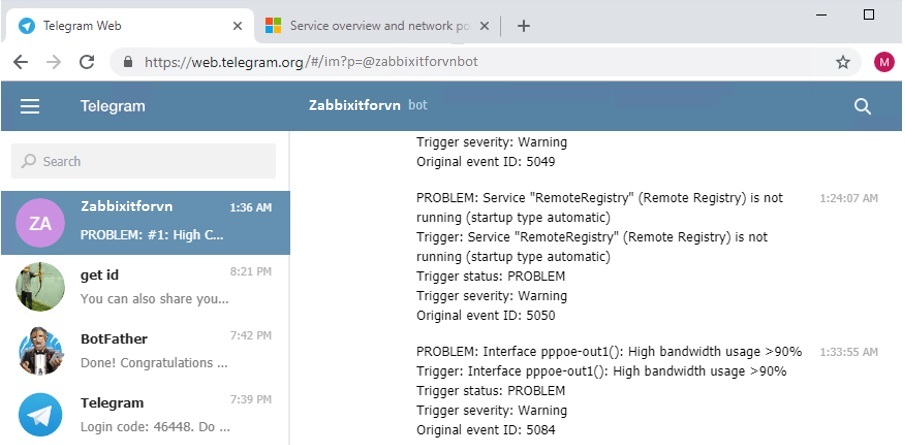
Hình 7.15: Kiểm tra tin nhắn Alert