
Cấu hình Wireless Controller Zyxel Phần 3
Cấu hình Wireless Controller Zyxel
Xin chào mọi người, hôm nay mình xin chia sẻ phần tiếp theo của bài hướng dẫn cấu hình Wireless Controller Zyxel NXC2500 cơ bản: Cấu hình chứng thực 802.1x trên Wireless Controller Zyxel NXC 2500
Các bước tiến hành chứng thực dot1x trên Wireless Controller Zyxel NXC 2500
Lưu ý các bạn cần cài đặt Active Directory trước nhé, tham khảo bài viết Hướng dẫn cấu hình chứng thực 802.1x (part1) (part 2) của anh Nguyễn Văn Tài.
Bước 1: Chọn mode CONFIGURATION > AAA Server > RADIUS > Add
Để tạo một Radius client, phần Authentication Server Settings :
- Server Address: trỏ về IP của RADIUS server
- Authentication Port: 1812 ( port RADIUS )
- Backup Server : IP của RADIUS Backup
- Backup Port:
- Key: pre-shared key này phải khớp với secret key trên RADIUS server

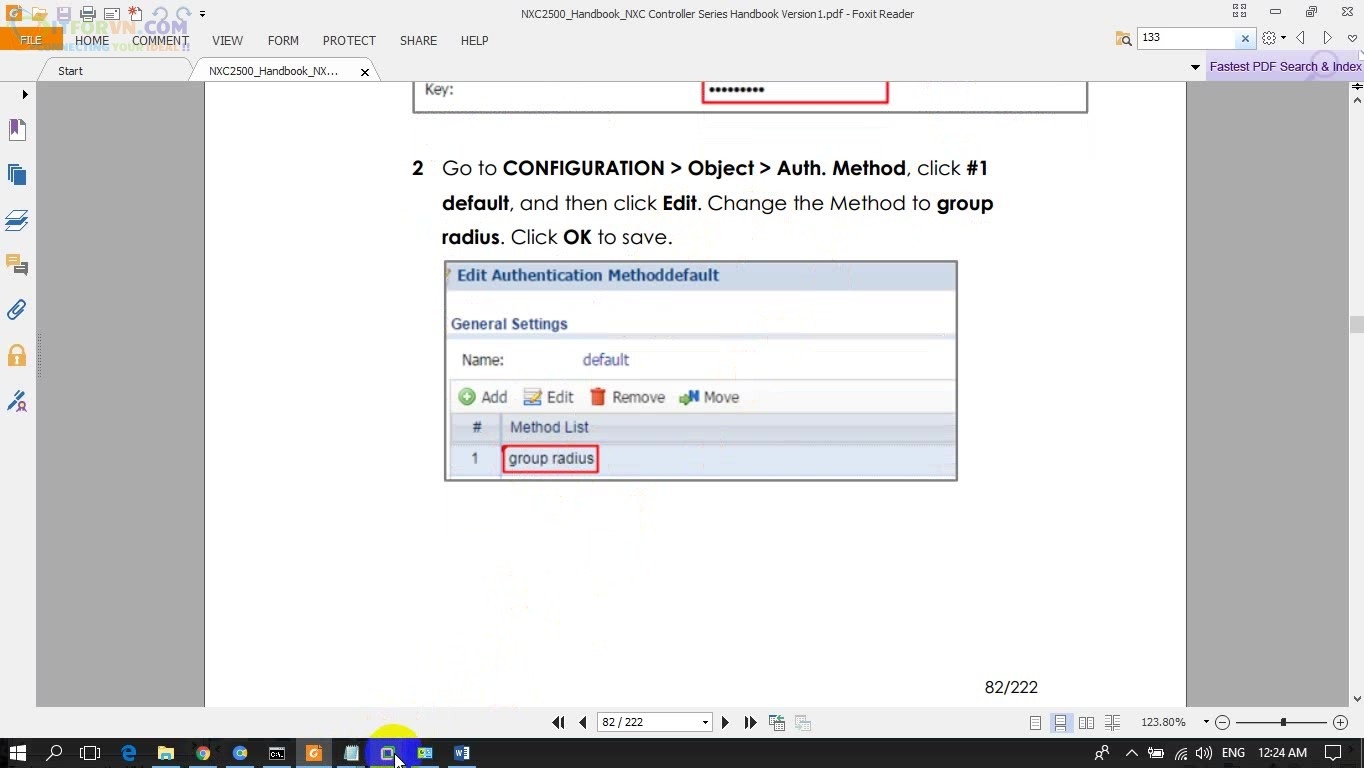
Bước 2: Chọn mode CONFIGURATION > Object > Auth. Method > chọn Edit
Để Edit Group RADIUS này từ default setting (local) > group radius > OK
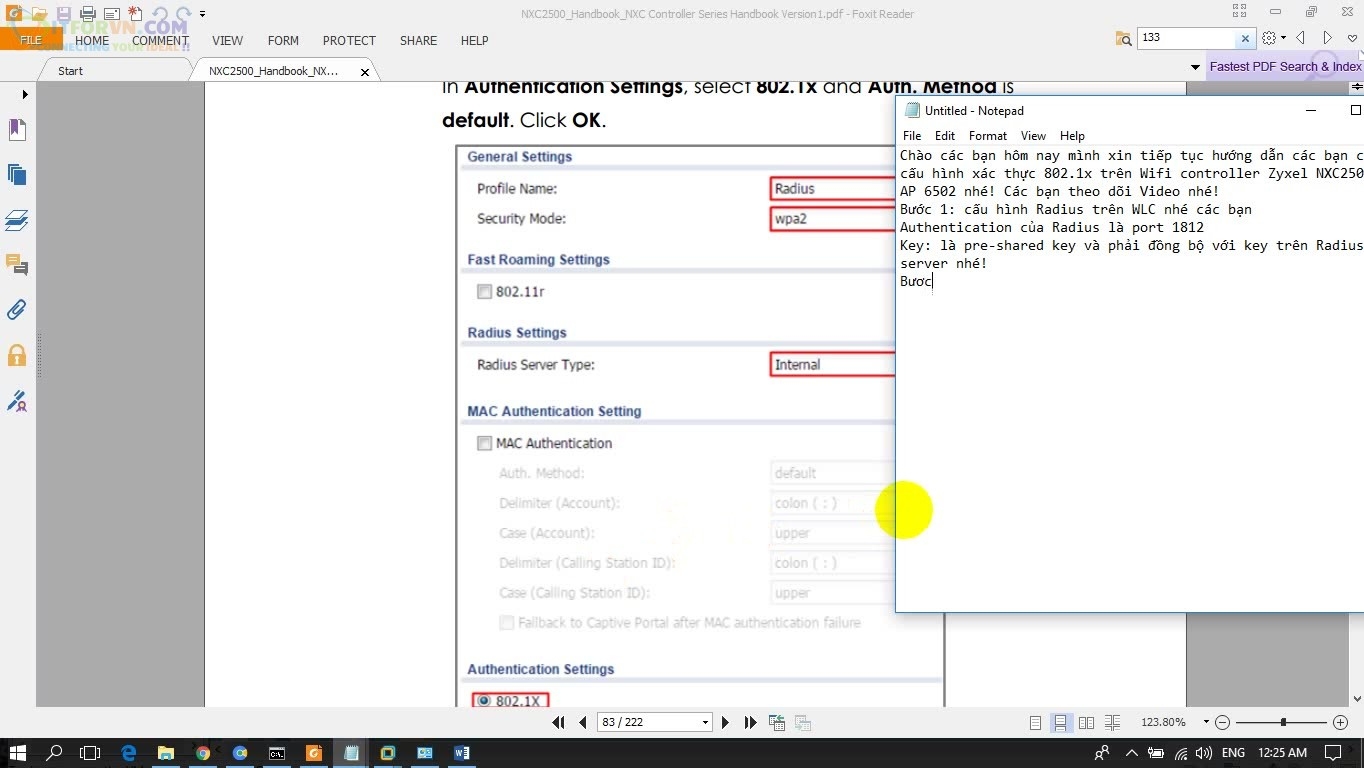
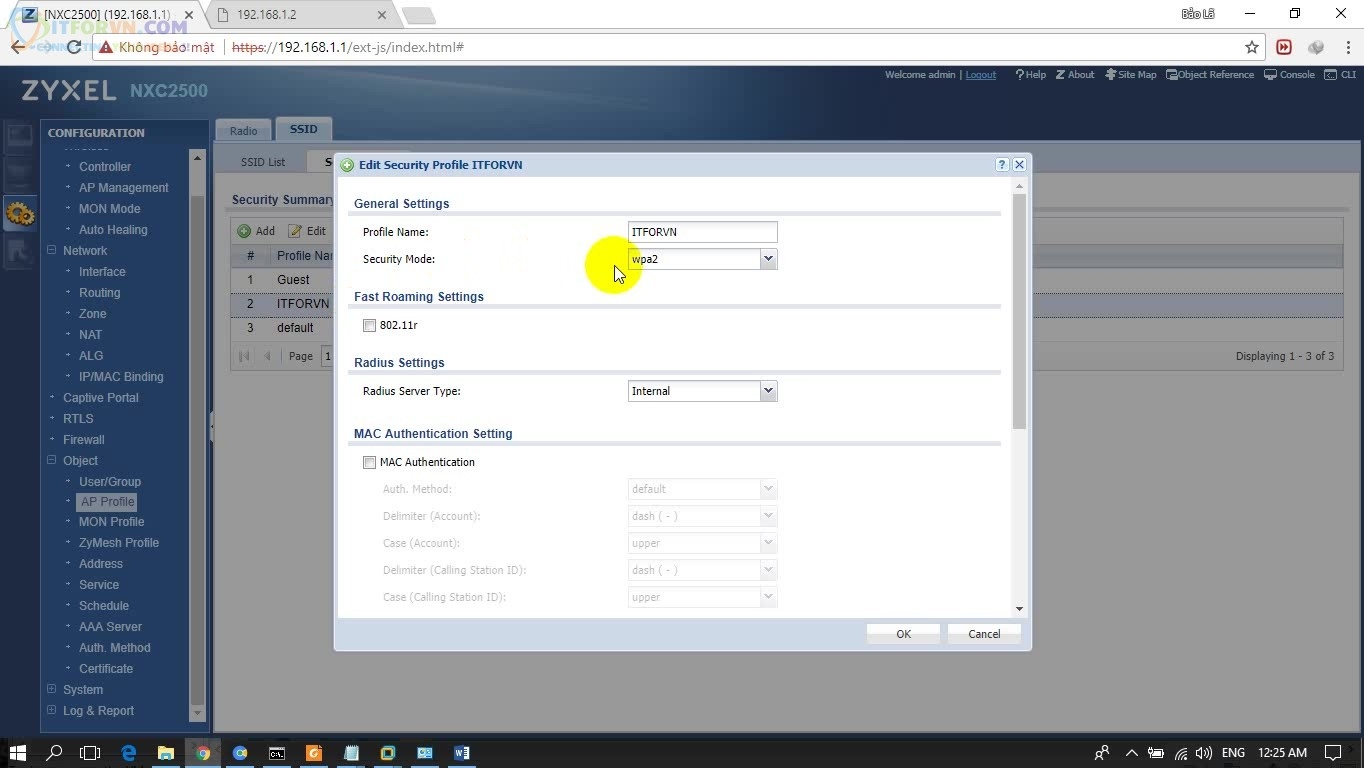
Bước 3: Cấu hình Security list của 802.1x. Chọn mode CONFIGURATION > Object > AP Profile >
- Chọn SSID cần sử dụng chứng thực 802.1x
- Profile name: Tên RADIUS client
- Security mode: chọn WPA2
- Radius Settings: chọn Internal
- Phần Authentication Settings: chọn 802.1x
Bước 4: Chuyển sang thẻ Security list, chọn SSID chứng thực 802.1x
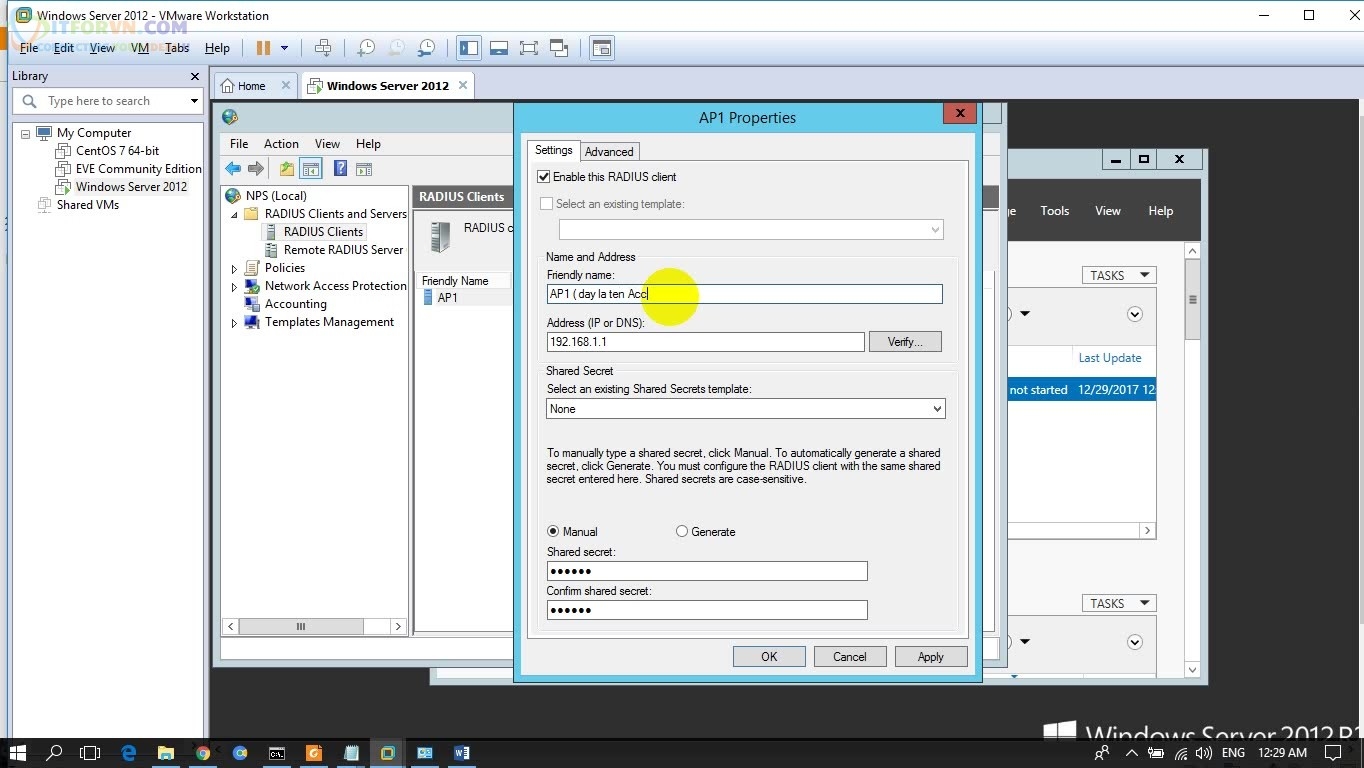
Bước 5: Mở RADIUS Server lên , chọn Network Policy Server > RADIUS Client >
- Friendly name: tên Access Point
- Address: trỏ về IP Wireless Controller
- Shared secret: Nhập pre-shared key khớp với “Key” trên RADIUS trên WLC

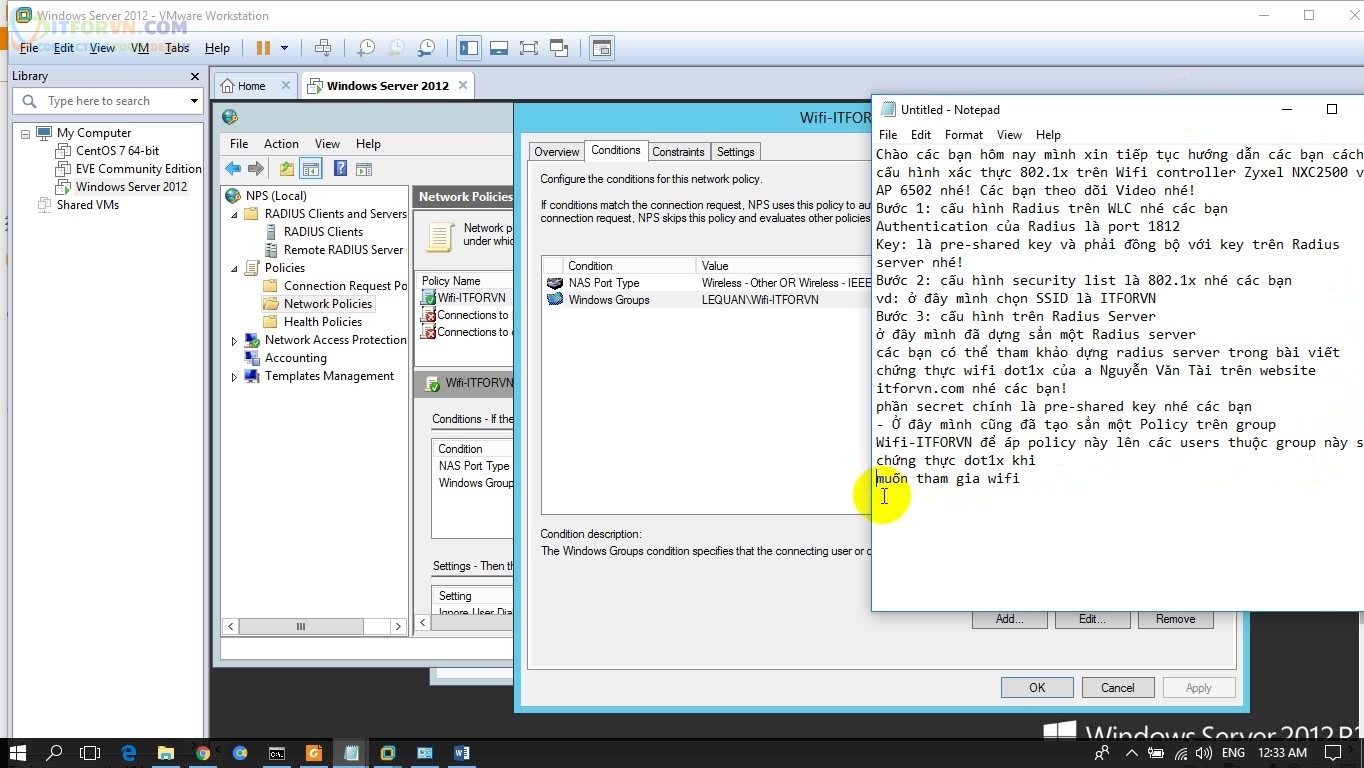
Bước 6: Chọn Policies > Network Policies > “Name Policy” > Edit Policy > Conditions
- NAS Port Type : Chọn Wireless – Other OR Wireless – IEEE: thông thường mặc định RADIUS sẻ chọn này. Nếu bị đổi option khác thì phải chọn lại này nhé các bạn
- Windows Group: tiến hành Add Group sử dụng Wifi đã tạo trước đây.
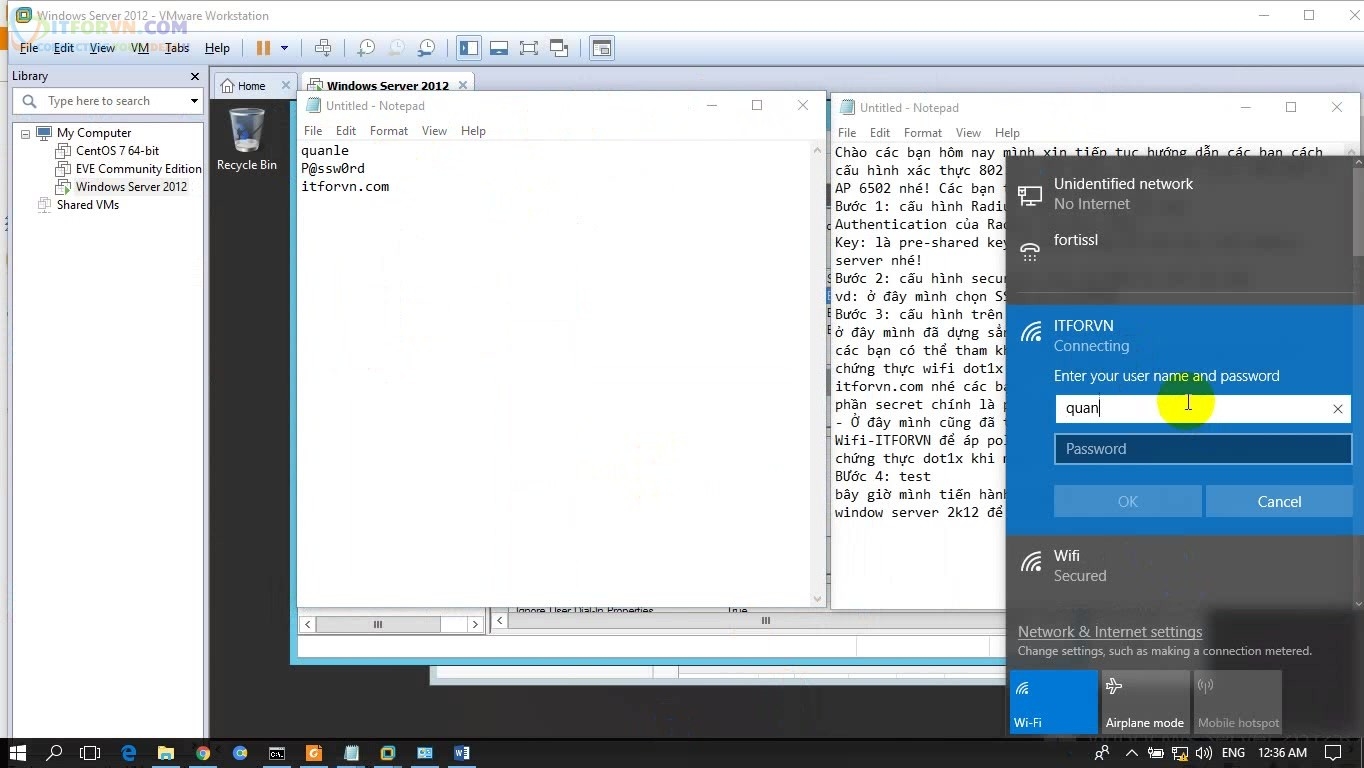
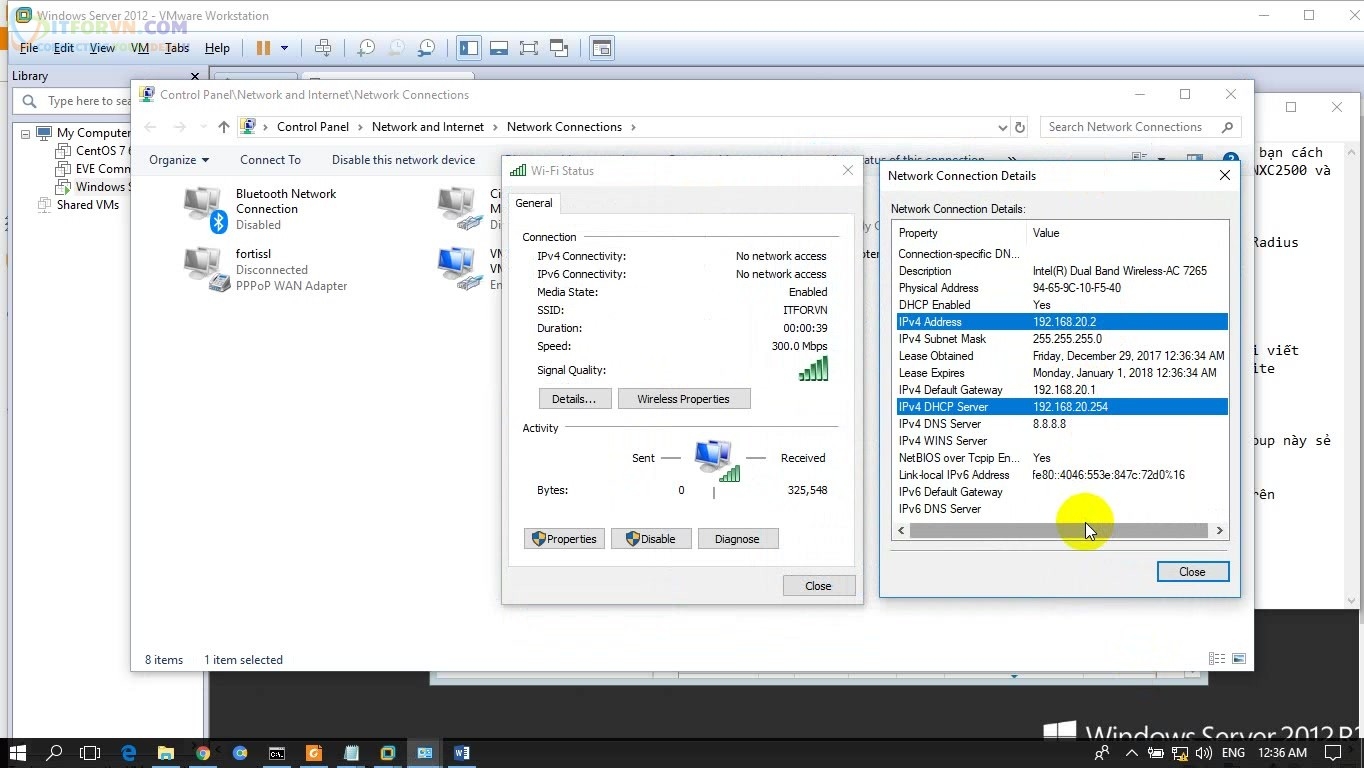
Bước 7: Thực hiện test chứng thực 802.1x
Video demo:
******************************************************************************************************
Lời kết bài viết Cấu hình Wireless Controller Zyxel :
Bài hướng dẫn cấu hình cơ bản Wireless Controller Zyxel NXC2500 của mình xin kết thúc tại đây. Hãy theo dõi các bài viết tiếp theo tại website và blog itforvn.vcode.ovh nhé. Nếu có thắc mắc hay đóng góp các Anh em hãy comment bên dưới nhé
Xin cám ơn Cty Tech Horizon đã cho group ITFORVN mượn thiết bị để thực hiện bài viết này.
Tác giả: Quân Lê – ITFORVN.COM
Bạn có thể tương tác và cập nhật thông tin mới nhất của Nhóm Facebook ITFORVN, Các khóa học mới do group tổ chức tại «Portal»